I successfully picked the 818 up from Mach V Motorsports on Friday. They were able to wire in the fuel temp sensor directly to the ecu, which set it up for tuning. However, they had some staffing issues and weren't able to give it the proper tune it deserves before I picked it up. They were able to tweak it enough for it to idle nicely and drive around the neighborhood, but not to romp on

.
While it was there, they corrected some minor things that I had set up incorrectly.
-Where I had connected the radiator overflow - The radiator I had purchased had 2 nipples (one at the neck and one on the other corner). I had the overflow connected to the neck, but it should have been at the corner.
-Rear lateral links - I had adjusted them to the stock sizes when installing, but then brought them in more when giving it an eyeball alignment. This was causing some mild binding, which is why I was having some resistance in the rear. Lesson learned.
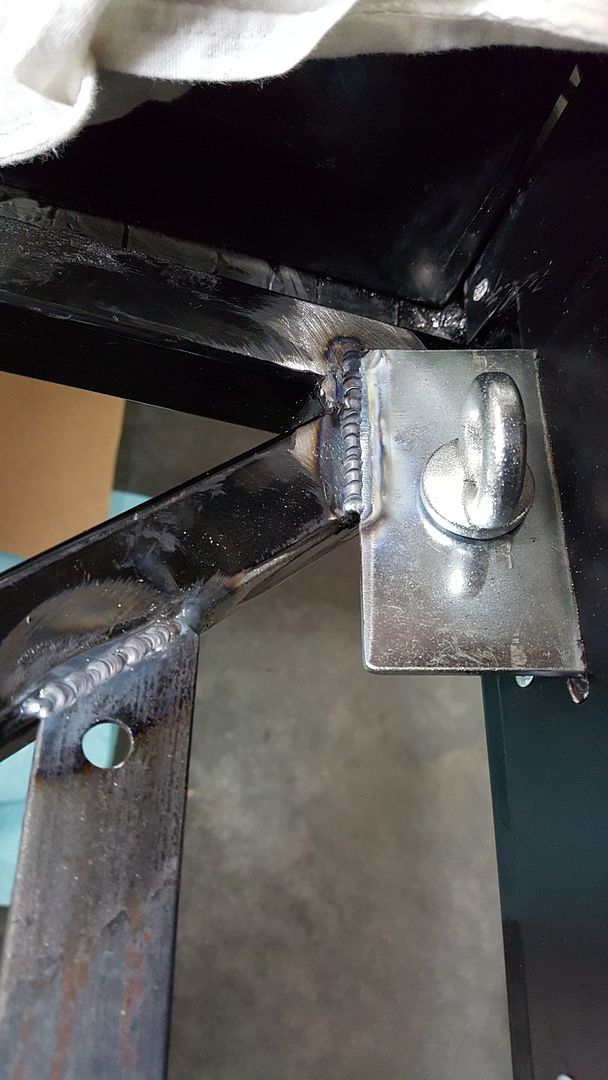
-Welded on a stud for one of the ground points. I had previously used a pop rivet to secure this ground, which I have learned is not ideal.
-Wired in fuel temp sensor - it'll read ambient right next to the tank, which will give the ecu accurate enough information (I believe).
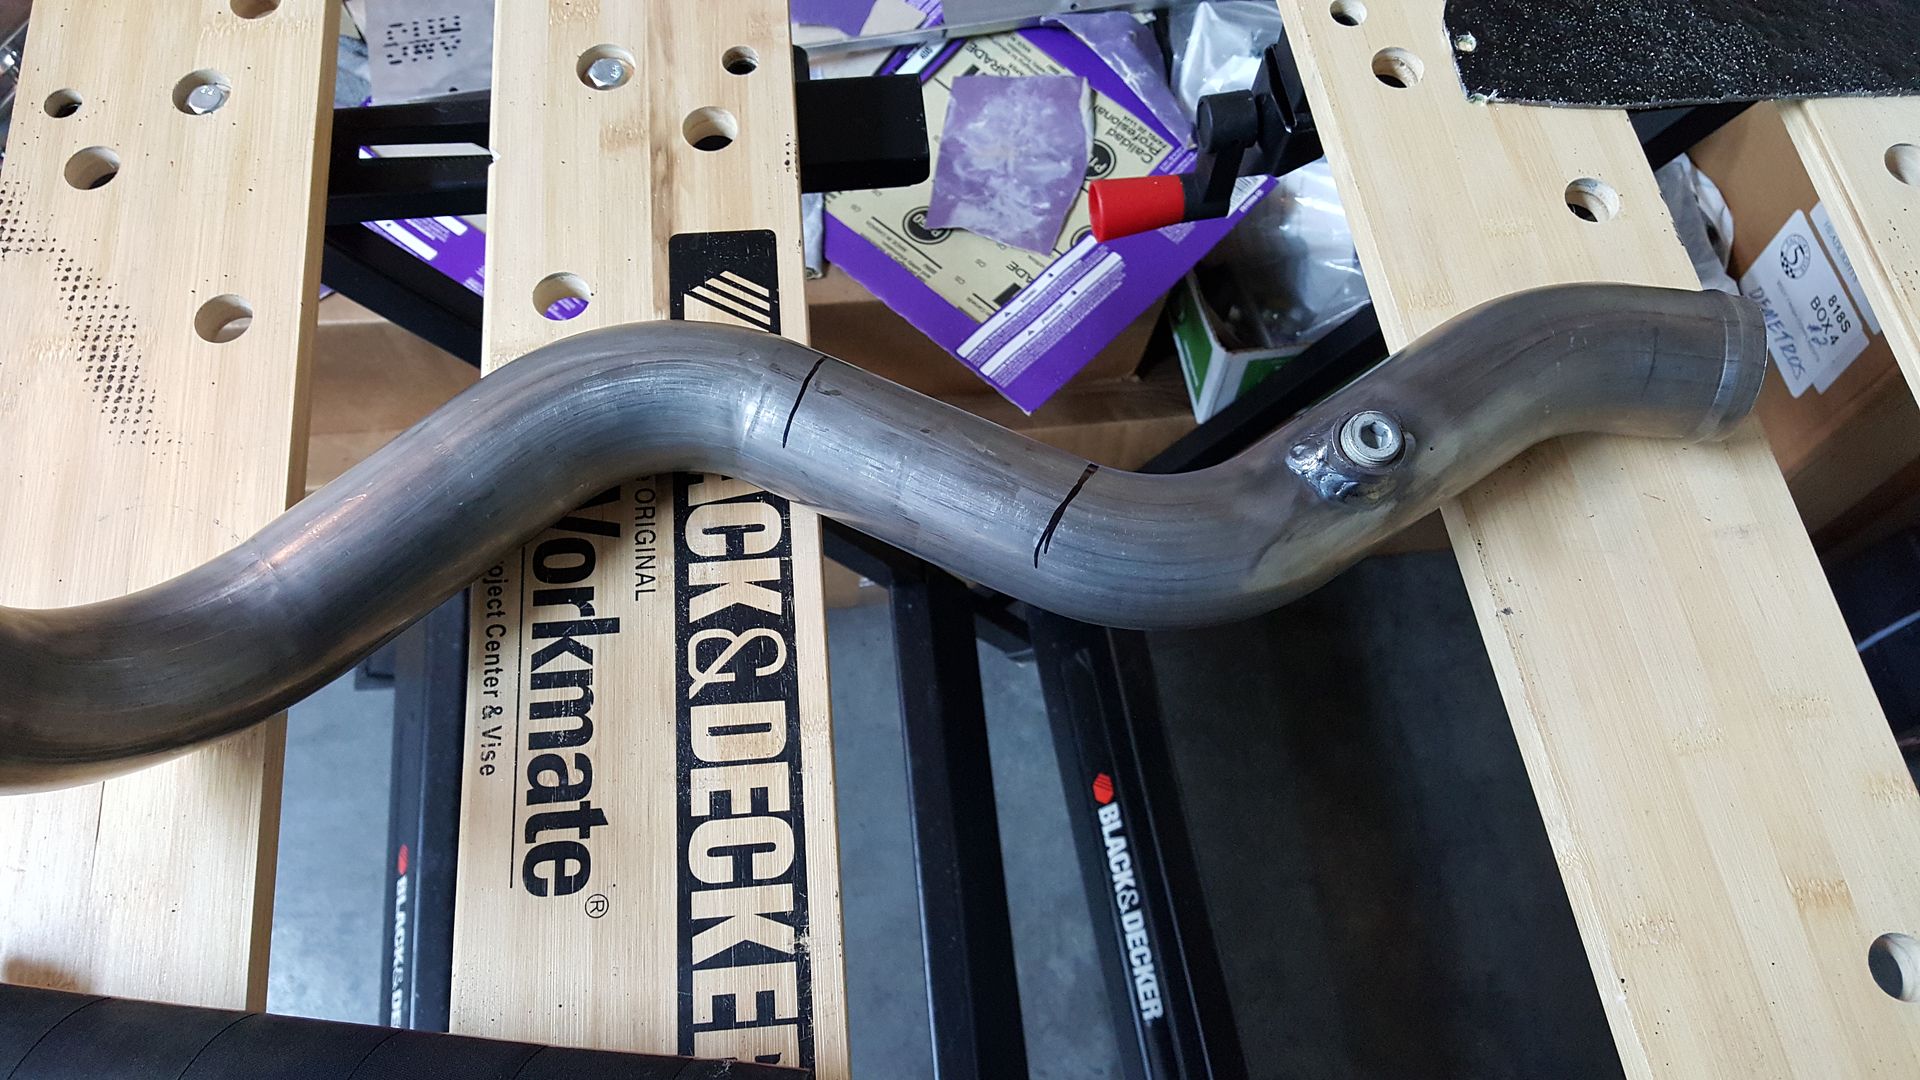
-Tacked my muffler onto the exhaust - waiting for body installation to weld perfectly center. But this'll cut down on the noise for now.

On top of that, they discovered 2 cylinders with 0 compression due to bent valves. Pulled it all apart and sent the heads to a machine shop for rebuilding. I could have trailered it home and pulled it apart myself. But head work is over my pay grade at this point in the learning process. A newb mistake here could cost a whole lot more than paying Mach V to handle this.
Overall, the car starts and runs very smoothly, idles nicely, and drives without a hiccup.
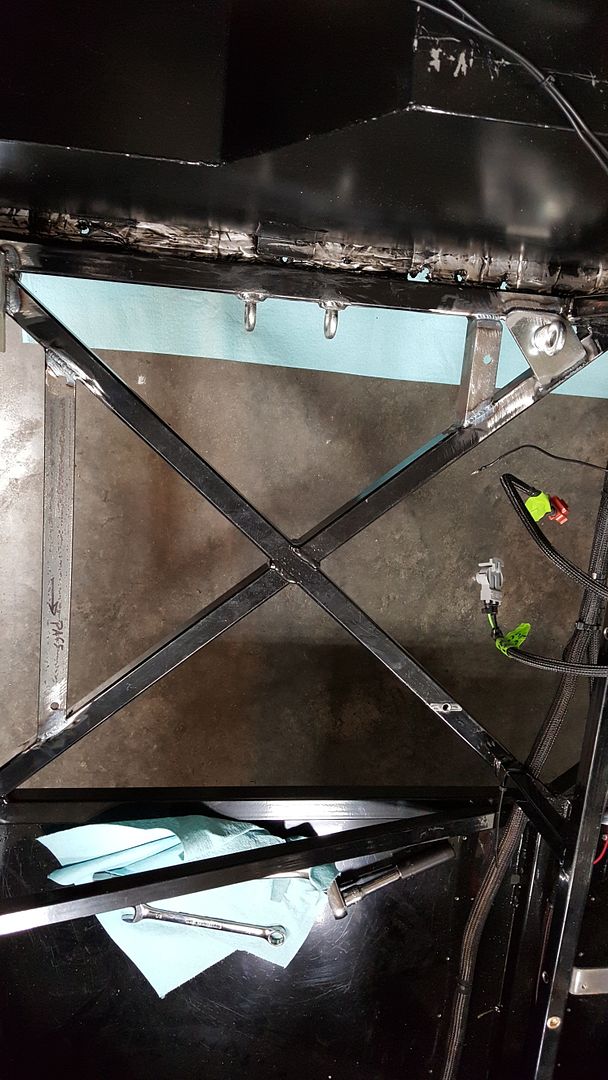
Mach V also welded in the appropriate tabs for my harnesses and mounts for the seats. It's hard to see from the pictures but those cross braces are L pieces and welded on the top (pictured) as well as the side.

Nice looking welds
This is the 1 step forward part of my update.
Next comes the 3 steps back part of my update. On the way home I decided to throw some gas into the car as we were already at a gas station for the truck. Drive it around the neighborhood a bit and park it for the night. The next morning I come out to a garage full of fuel fumes. The seal for the fuel level sending unit **** the bed. Previously I had only enough fuel in the tank to where it hadn't yet reached this seal.
Pull the seats out, pull the fire wall, pull the engine/tank firewall, pull the shifter, and finally get to the seal. I thought that I would be able to use the FFR fuel tank because I had gone the extra mile to use a tank sealer. Now I'm dealing with the consequences of accepting the **** design of the FFR tank. So frustrated with that. I'll be taking this tank for target practice and purchasing a Boyd tank. That was one area I had planned on saving funds while using the stock tank. Now I'm feeling that bite my ***. FYI, gasoline turns dynomat sound deadener into a tar like substance.
Ugh.


 Thanks:
  Likes:


 Reply With Quote